Reassign Records
In the B2B CRM application, you can reassign multiple records from one employee to another. This could be useful in case of dismissal or vacation.
Reassignment widget
To reassign records from one employee to another, complete the following steps:
- Navigate to Organization → Employees. In the list, find the employee whose records need to be reassigned, and open the form of this employee.
- On the form, in the burger menu click Reassign records to open the reassignment modal window.
Role required: crm_manager, crm_admin, admin. The action is also available to the manager of the current employee and the manager of the manager, regardless of their roles.
-
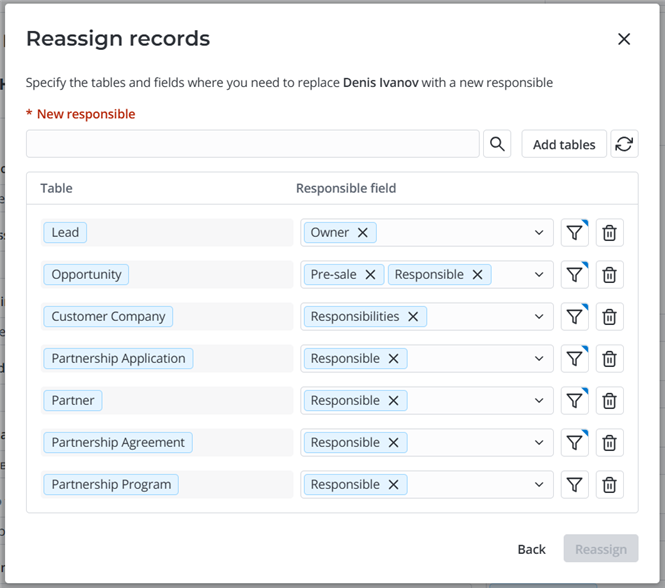
In the modal window that opens, configure the reassignment:
-
New responsible – specify an employee to assign as responsible in records instead of the current user.
-
Add tables – click to add tables in which you need to reassign records to the list below. If there are extendable tables among the selected ones, the reassignment will not be done automatically in their child tables' records. Only the records of the tables selected in the widget will be changed.
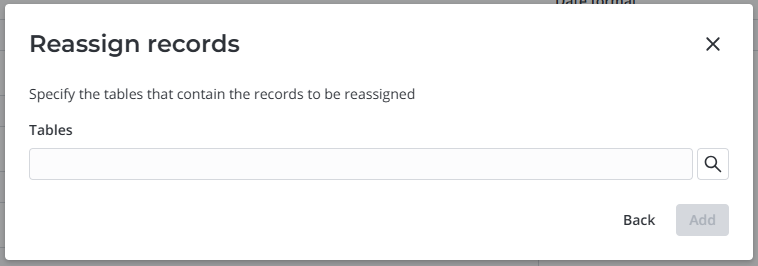
After specifying the required tables, click Add to apply the changes and return to the main screen of the widget. You can also return to the main screen without applying the changes by clicking Back.
-
– click to return to the default configuration of tables, columns, and conditions for reassignment. You will need to confirm this action.
-
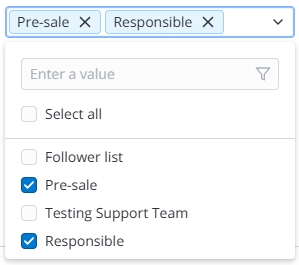
Responsible field – click the field to select among the columns of the specified table those in which you need to replace the current employee with the New responsible. You can select from the columns of the Reference or List types referencing the Employee (employee) or User (user) table. For the Customer Company (crm_customer_company) table, you will only be able to select the Responsibilities field. If the Responsible field is not specified in some of the rows, you will not be able to proceed with reassignment.
-
– click to create a condition for a table whose records you need to reassign. This will allow you to narrow the selection of records to be affected. If a condition is configured for a table, the icon has a blue indicator:
 . If no condition is configured, the button has no indicator:
  . Here is an example of the condition configuration:
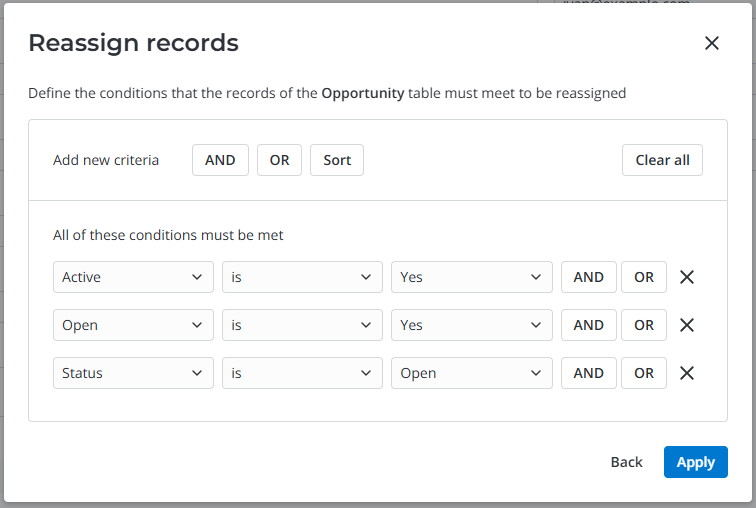
After configuring the condition, click Apply to apply the changes and return to the main screen of the widget. You can also return to the main screen without applying the changes by clicking Back.
-
– click to delete a row with a table. If required, you will be able to add it again with the Add tables button.
-
-
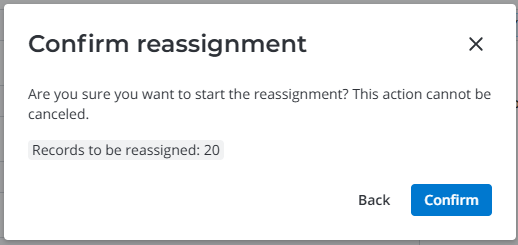
Click Reassign to proceed to the confirmation of reassignment.
-
Check the number of records to be reassigned. If the configuration is correct, click Confirm to make the changes.
As a result, the values of the specified fields of all tables selected in the widget will be changed from the current user to the New responsible in the records that meet the specified conditions. If the Customer Company table was among the selected tables, the system will reassign the related Responsibilities (crm_responsibility) of the companies in which the current employee was specified.
Reassignment configuration preferences
After a successful reassignment, the configuration of tables, columns, and conditions that you created is saved to the CRM User Preference (crm_user_preference) table. The next time you use the widget, it will open your previous configuration by default. Your preferences will be updated after each successful reassignment.
Role required: admin, crm_admin. A user with the crm_read_admin role can only read the records.
To create a user preference configuration record manually, complete the following steps:
- Navigate to CRM → Parameters → User Preferences.
- Click New and fill in the fields.
- Click Save or Save and exit to apply the changes.
CRM User Preference form fields
| Field | Mandatory | Description |
|---|---|---|
| User | Y | Specify a user for whom you create the preferences. |
| Name | Y | Specify the record title. |
| Value | Y | Specify the value of the reassignment configuration in the JSON format. The value can contain the tables, columns, and condition for the records of the table. |
[
  {"table_id":"166480057310718930","column_ids":"166480139717903619","condition":"(active=1)"},
  {"table_id":"166480589916282031","column_ids":"166480608814557061,169511184326371899","condition":"(active=1^open=1^state=open)"},
  {"table_id":"166486672612610321","column_ids":"167638173623472754","condition":"(active=1)"},
  {"table_id":"171283730813885983","column_ids":"171283928816991308","condition":"(stateINnew@assigned)"},
  {"table_id":"166488224514287795","column_ids":"168906449820002214","condition":"(active=1)"},
  {"table_id":"171405044612885436","column_ids":"171405499511032472","condition":"(stateINdraft@valid)"},
  {"table_id":"171152557117726420","column_ids":"171152899217158035","condition":""},
  {"table_id":"171152919210898540","column_ids":"171152971313965494","condition":""},
  {"table_id":"166488866313075592","column_ids":"166488946018259767","condition":"(stateINopen@in_progress)"},
  {"table_id":"166479899318257404","column_ids":"166479989517534125,166479986113452403","condition":"(stateNOT INcompleted@canceled)"},
  {"table_id":"167351419127758241","column_ids":"163526165410869064","condition":"(ci_status=0)"},
  {"table_id":"155931135900000025","column_ids":"156965838217891588","condition":"(active=1)"},
  {"table_id":"166505546317979915","column_ids":"166488946018259767","condition":""}
]