Calendars
Roles required:
- Create: admin – all calendars; users with any role unless the calendar Is default.
- Read: users with any roles.
- Update, delete: admin – all calendars; users with any role if the calendar is not marked as Is default and the user is its creator, the manager of its creator, or the task delegate of its creator.
Any table can be presented as a calendar with the table records as its events. Calendars allow you to view and plan these events.
You can open a table's calendar as follows:
- Navigate to the table whose calendar you need to view and click Open calendar in its burger menu .
- Navigate to Data Presentation → Calendars, open the calendar record you need, and click Open calendar in the upper-right corner of the form.
A table's calendar shows its events by month. Each cell displays the events planned for that day. A maximum of four events are displayed, the rest are collapsed, but their number is configurable. The events are sorted by their start time. If several events have the same start time, they are sorted by their ID in descending order.
Create calendars
To create a calendar view for a table, complete the following steps:
- Navigate to Data Presentation → Calendars.
- Click New in the upper-left corner of the page.
- Fill in the form fields.
- Click Save or Save and exit to apply the changes.
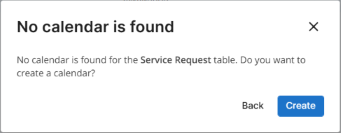
If a table does not have any calendars configured, when you click Open calendar in its burger menu , you will be prompted to create one. Click Create in the modal window that opens and fill in the form fields.
Calendar form fields
| Field | Mandatory | Description |
|---|---|---|
| Is default | N | Select the checkbox for the calendar to be displayed for the specified Table to all users by default. The field can only be edited by admin users. The checkbox:
If a user selects another calendar as preferred, that calendar will be displayed for this user instead of the Is default calendar. |
| Title | Y | Specify a title for the calendar. |
| Table | Y | Specify the table whose records the calendar displays. |
| Condition | N | Specify the conditions that determine which table records appear in the calendar. |
| Preferred for me | N | Activate the toggle to display this calendar by default for the current user only. If the toggle is deactivated, the Is default calendar is displayed. |
| Created by | N | The field is automatically completed with the name of the user who created the calendar. |
Displayed Data tab
| Field | Mandatory | Description |
|---|---|---|
| Record title | Y | Specify the table column to be used as the title of the events in the calendar. |
| Record subtitle | N | Specify the table column to be used as a subtitle of the events in the calendar. |
| Record subtitle 2 | N | Specify the table column to be used as the second subtitle of the events in the calendar. |
| Start date | Y | Specify the table column whose date and time will be used as the start of the events in the calendar. If the specified column is empty for an event, this event will not be displayed in the calendar. |
| End date | Y | Specify the table column whose date and time will be used as the end of the events in the calendar. If the specified column is empty for an event, the calendar will display ? instead of its End date. |
| All day | N | Select the checkbox if the table's events last all day. If the checkbox is selected, the Start date and End date fields are replaced with the mandatory Date field, which determines when the events start. |
Configure calendar display
You can change the color of records in the calendar, as well as configure how many events in a cell can be displayed collapsed.
Record color
Roles required:
- Create, read: users with any role.
- Update: the Color field can only be updated by the creator of the related calendar, their manager, or their task delegate. The Calendar and Table fields are read-only.
- Delete: Color records are deleted automatically if their related calendar is deleted. They cannot be deleted manually.
Records in the Record Colors in Calendar (record_colors_in_calendar) table are created automatically following the creation of a calendar record. If you configure a calendar for a table with child tables, the system also creates color records for the child tables.
By default, calendar events have the Blue color. To change the color, complete the following steps:
- Navigate to Data Presentation → Calendars.
- Open the calendar record whose colors you need to change.
- In the Record Colors related list, select the necessary Color for the Table records. The related list allows you to configure the event colors for both the current table and its child tables if they are available. You can configure a separate color for each.
- Click Save or Save and exit to apply the changes.
You can also change the colors via the Record Colors in Calendar (record_colors_in_calendar) table.
Record number
If a day has more than four events, the events exceeding this limit will be collapsed. You can set the maximum number of records that can be displayed collapsed in the SA Calendar widget options. Complete the following steps:
-
Navigate to Portal Structure → Widget Instances.
-
Open the SA Calendar widget record.
-
In the Schema option values field, change the value of the
maxQuantityHiddenRecordsPerDayparameter as needed.infoThe recommended parameter value is no more than 100. If the parameter is not set or its value is invalid, the default value (25) will be used.
-
Click Save or Save and exit to apply the changes.
Interact with calendars
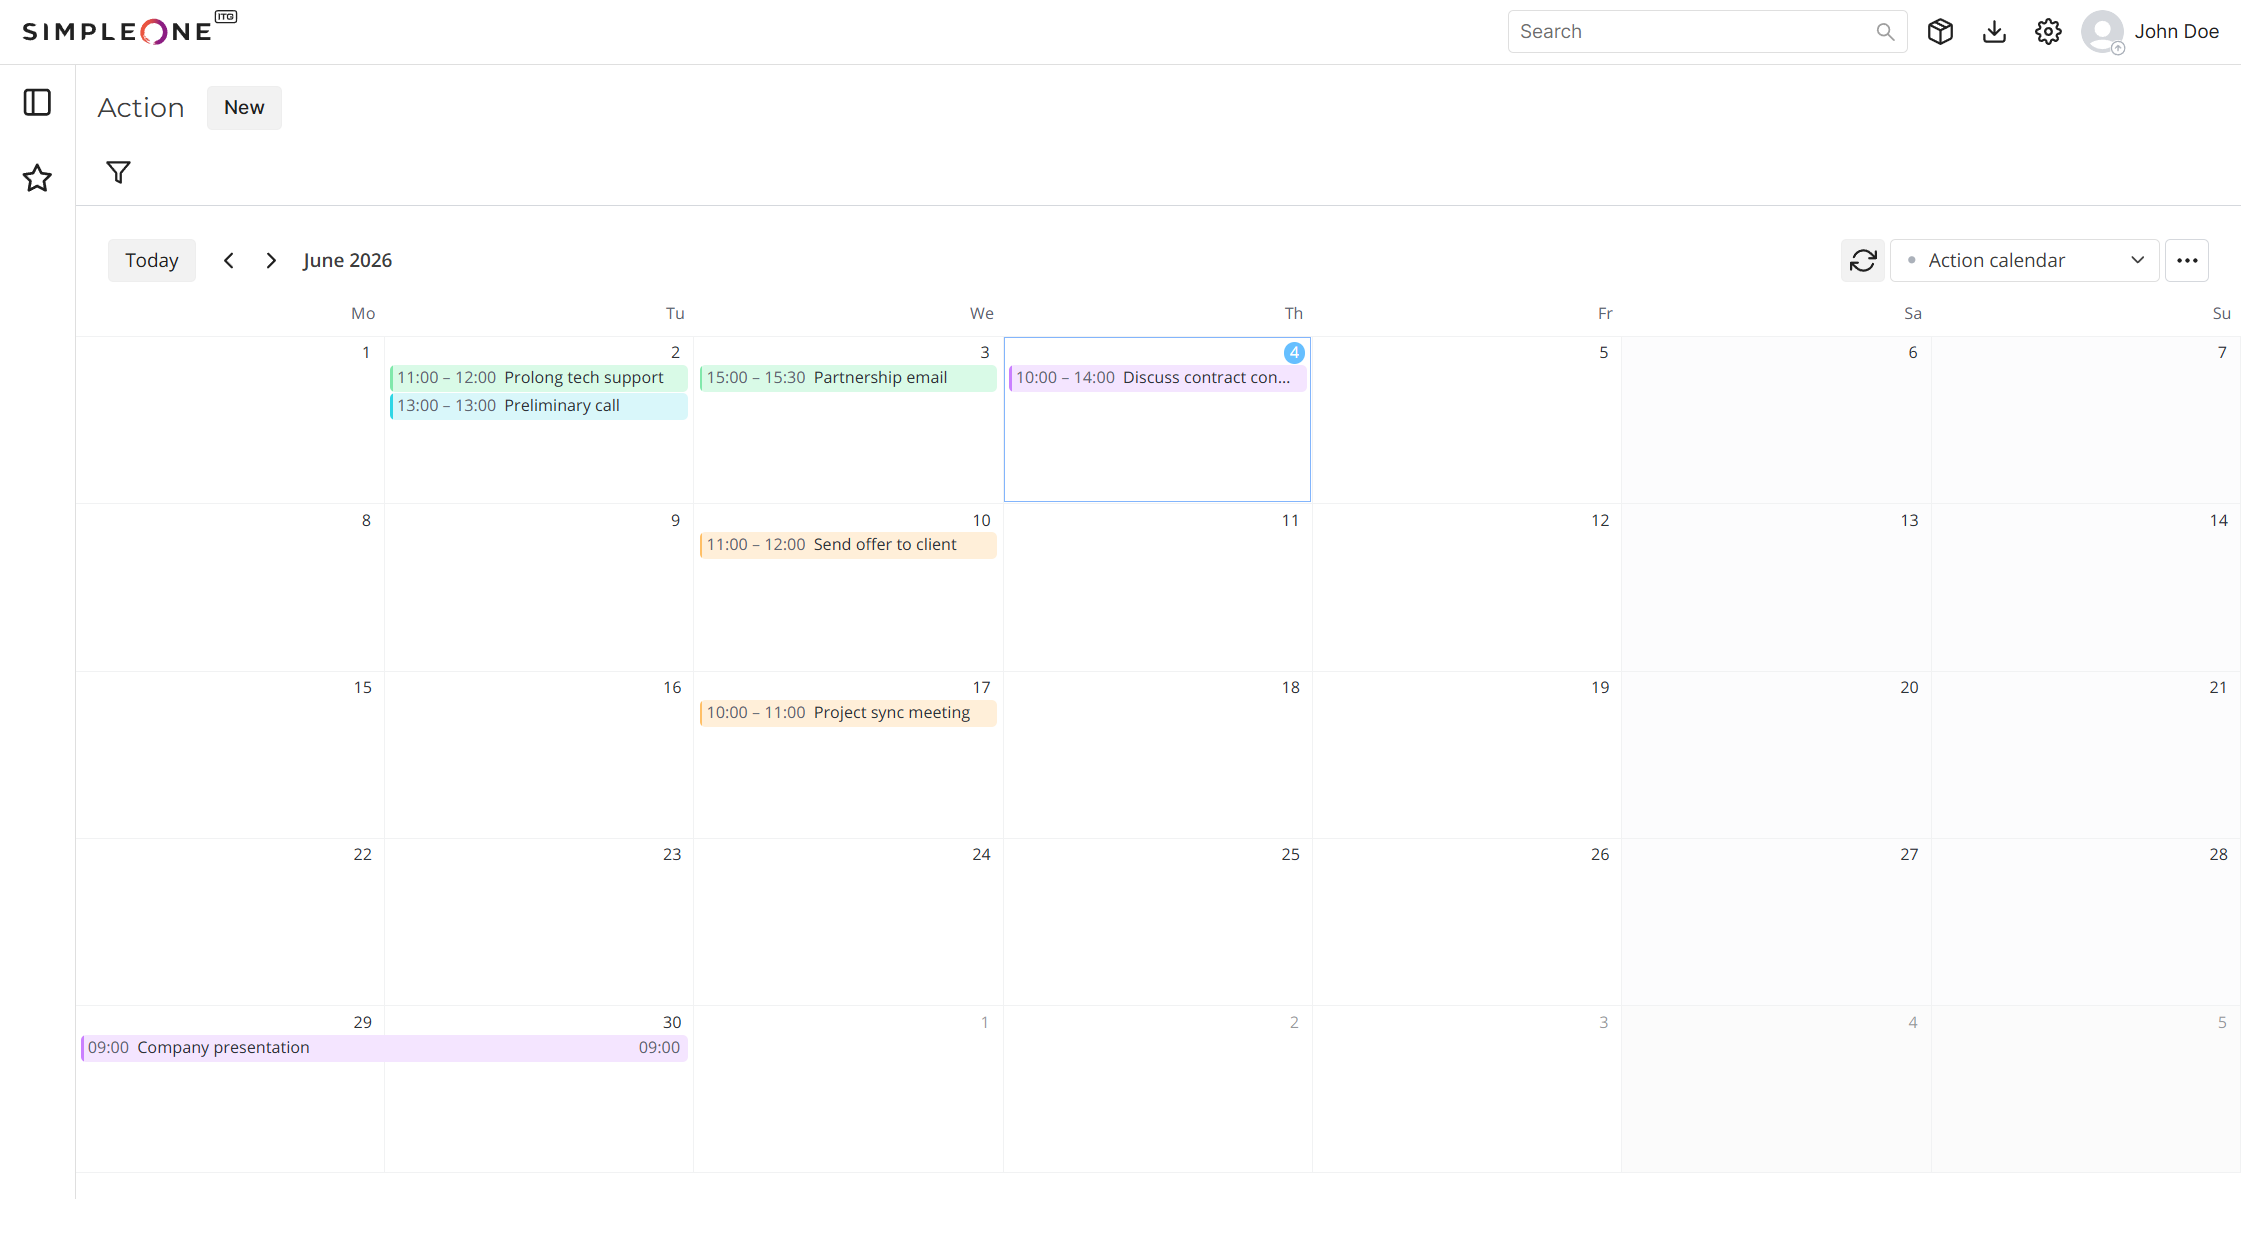
With the calendar, you can:
- Change the record display conditions by clicking the funnel .
- Switch to the events happening Today, as well as the events of the previous and following months.
- Reset unsaved changes in the record display conditions to the calendar's current settings.
- Open another calendar created for the table by selecting it from the dropdown.
- Calendars with unsaved changes are marked with the dot .
- Open the Toolbar :
- Save the changed record display conditions in the current calendar.
- Save as new calendar: save the changed record display conditions in a new calendar. You can set the new calendar as preferred for yourself straightaway.
- Open settings of the calendar. You will be redirected to its form in a new tab.
- Create an event (a record) in the table the calendar is displayed for, or its child table, if you have the corresponding rights. Move the pointer over any calendar cell and click . You can also click New in the upper-left corner of the page.
- View all of the day's events in the expanded mode by clicking the corresponding cell.
- Open the preview of an event containing its title, subtitles, dates and time by moving the pointer over this event.
- Open the event record by clicking it.
If a table's list view already contains some record display conditions, and you open a calendar from it, the calendar's record display conditions will be reset. The list view's record conditions will be displayed instead.
You can save these conditions for the calendar by clicking Save in the Toolbar . You can also reset these conditions to return the calendar ones by clicking .