Branding Customization
Customize your SimpleOne instance: add unique visual elements, configure the URI, and define the default language and timezone. Specify contacts for feedback, the help text on the authorization page and the redirection page for unauthorized users.
Role required: admin.
Instance branding
Instance logo and favicon
Use the ui.branding.logo and ui.branding.favicon properties to set the logo and favicon of your instance.
![]()
To set up properties, complete the following steps:
- Navigate to System Properties → All Properties.
- Find the property record you need using the list search boxes or the condition builder and open it.
- In the Value field, enter the ID of the attachment you need.
- Navigate to Attachments → Attachments.
- Find the attachment you need and copy its ID.
- Click Save or Save and exit to apply the changes.
Instance page title
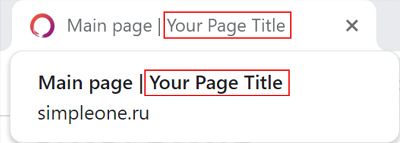
Use the ui.branding.pageTitle to customize the page title of your instance.

- Navigate to System Properties → All Properties.
- Find the ui.branding.pageTitle property record using the list search boxes or the condition builder and open it.
- In the Value field, enter the text you need.
- Click Save or Save and exit to apply the changes.
Instance URI
Use the simple.instance.uri property to customize the page URI of your instance.
To edit the URI, complete the following steps:
- Navigate to System Properties → All Properties.
- Find the simple.instance.uri property record using the list search boxes or the condition builder and open it.
- In the Value field, enter the URI name you need.
- Click Save or Save and exit to apply the changes.
Default timezone
Use the user.timezone.default property to set the default user timezone. A user can change the timezone in the Preferences menu.
To set the default user timezone, complete the following steps:
- Navigate to System Properties → All Properties.
- Find the user.timezone.default property record using the list search boxes or the condition builder and open it.
- In the Value field, enter the timezone name as specified in the Timezone (sys_timezone) table.
- Click Save or Save and exit to apply the changes.
Default language
Use the user.language.default property to set the default system language. The default system language is used on the log in page and for the new users.
To set the default system language, complete the following steps:
- Navigate to System Properties → All Properties.
- Find the user.language.default property record using the list search boxes or the condition builder and open it.
- In the Value field, enter the language designation as specified in the Language column of the Language (sys_language) table.
- Click Save or Save and exit to apply the changes.
Unauthorized user redirection
Use the page_access.redirect_url property to specify the URL path to a page where users that have no access rights to a specific self-service portal page will be redirected to.
To specify a redirection URL, complete the following steps:
- Navigate to System Properties → All Properties.
- Find the page_access.redirect_url property record using the list search boxes or the condition builder and open it.
- In the Value field, enter the path to the page you need (for example, /portal).
- Click Save or Save and exit to apply the changes.
Help message on the login page
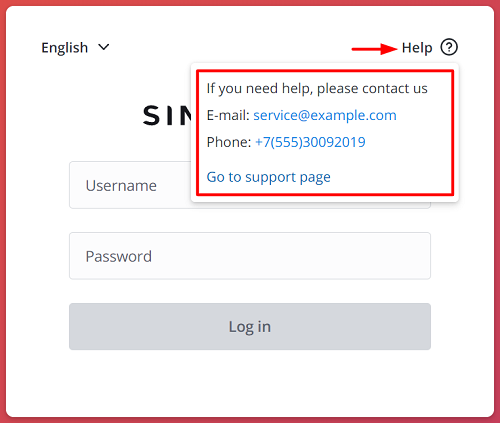
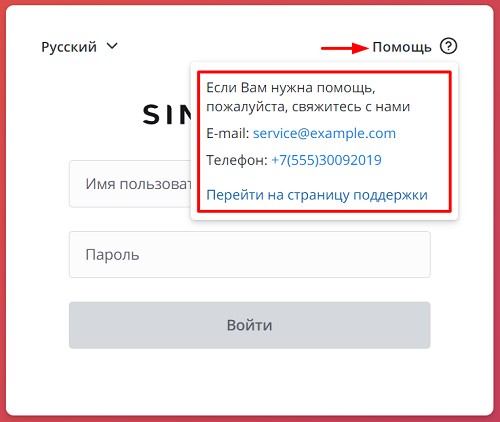
Use the following properties to set the text of the Help / Помощь message on the log in page:
- simple.auth_page.help_info.en for the English language.
- simple.auth_page.help_info.ru for the Russian language.


- Navigate to System Properties → All Properties.
- Find the property record using the list search boxes or the condition builder and open it.
- In the Value field, enter your text using the HTML elements.
- Click Save or Save and exit to apply the changes.
Example:
<p>If you need help, please contact us</p><p>E-mail: <a href="mailto:service@example.com">service@example.com</a></p><p>Phone: <a href="tel:+7(555)30092019">+7(555)30092019</a></p><p><a href="https://simpleone.ru/>Go to support page</a></p>
Contact email
Use the simple.auth_page.support_email property to specify a contact email address.
To do so, complete the following steps:
- Navigate to System Properties → All Properties.
- Find the simple.auth_page.support_email property record using the list search boxes or the condition builder and open it.
- In the Value field, enter a contact email.
- Click Save or Save and exit to apply the changes.
Contact phone number
Use the simple.auth_page.support_phone property to specify a contact phone number.
To do so, complete the following steps:
- Navigate to System Properties → All Properties.
- Find the simple.auth_page.support_phone property record using the list search boxes or the condition builder and open it.
- In the Value field, enter a contact phone number.
- Click Save or Save and exit to apply the changes.
Service desk website
Use the simple.auth_page.support_site to specify the URL of the service desk site.
To do so, complete the following steps:
- Navigate to System Properties → All Properties.
- Find the simple.auth_page.support_site property record using the list search boxes or the condition builder and open it.
- In the Value field, enter the URL of the service desk site.
- Click Save or Save and exit to apply the changes.
Portal branding
Portal logo and favicon
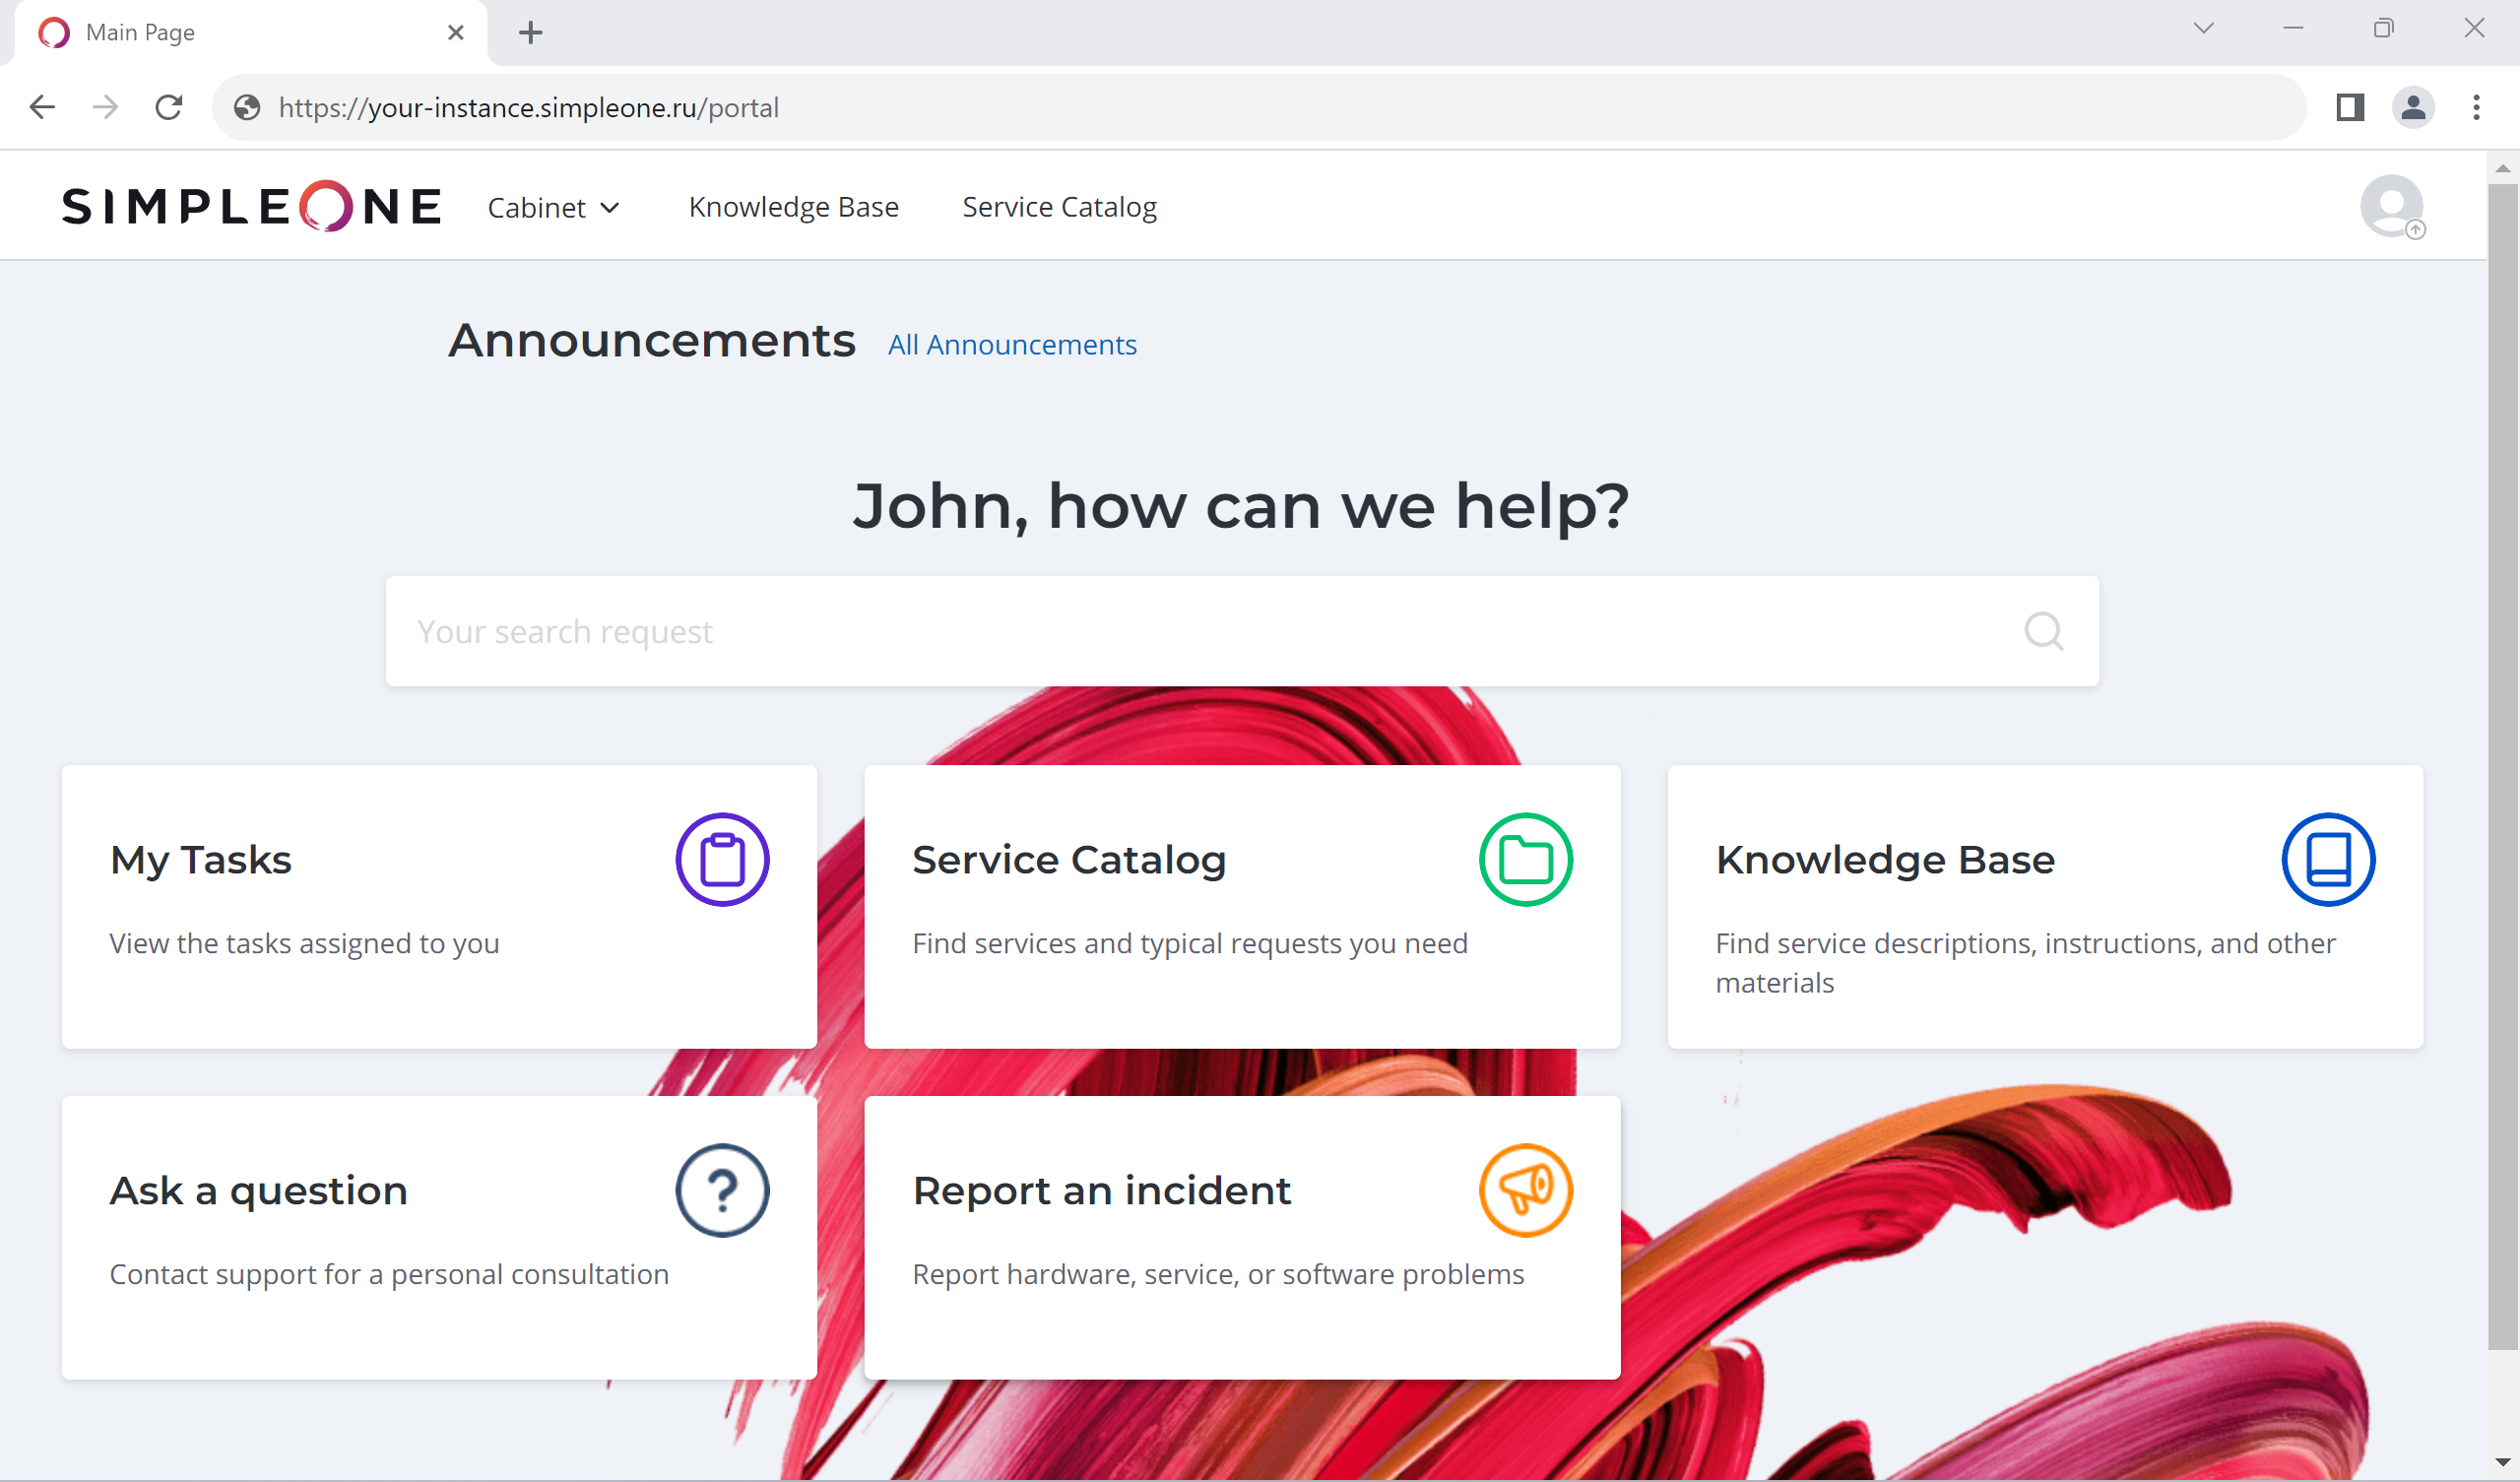
You can set a logo and favicon for your portal.
To do so, complete the following steps:
- Navigate to Portal Structure → Portals.
- Find the portal record you need using the list search boxes or the condition builder and open it.
- Click the attachments icon in the Logo or Favicon field and upload the file.
- Click Save or Save and exit to apply the changes.
![]()
Background image
You can set an individual background image for every portal page.
To do so, complete the following steps:
- Navigate to Portal Structure → Pages.
- Find the page record you need using the list search boxes or the condition builder and open it.
- In the Related Lists area, select the Page Container tab and open the record you need.
- Click the attachments icon in the Background image field and upload the file you need.
- Click Save or Save and exit to apply the changes.

Recommended image width: 1900px.
The height of the image depends on the number and size of the page elements.