Engine Management
In SimpleOne, you can implement engines that handle different business tasks. Each engine represents some additional functionality that you can use to extend your business processes, or create a new logic that can be provided separately.
You can create options for the engines and switch their values for different tables to create the required logic. To configure and manage engines in the agent interface, use the SimpleEngine engine management system. Its main function is to flexibly manage the engine configuration.
You can also connect the SimpleEngine external script to use its API methods to:
- return all engines in a list
- return the engine option by the specified name
- return the engine option values for the specified table
- verify that the engine is enabled for the specified table.
Use the data that you receive with these methods to create logic for the engines.
SimpleEngine features
When you set up your engines, you need to specify the target tables for the relevant engine, or to limit the tables for the specified engines. For example:
- The Following Engine should be enabled in the Incident, Change Request, Problem, Service Request tables.
- The Simple Absence engine should be enabled in the Task table.
Configure an engine
To configure an engine within the SimpleEngine system, complete the following steps:
- Create a new record of the engine.
- Create necessary options for this engine.
- Specify the general option values.
- Specify the option values relevant for the table(s) to be processed by this engine.
- The engine is automatically enabled on the table specified in step 4.
- Specify the table option values in the relevant related list.
You can define table option values only for specified table (for example, Incident) so SimpleEngine works only with that table record forms.
Create an engine
Create records that accumulate all information about the engine configuration on the instance.
To create an engine record, complete the steps below:
- Navigate to Engine Management → Engines.
- Click New and fill in the Name and Description fields.
- Click Save or Save and exit to apply the changes.
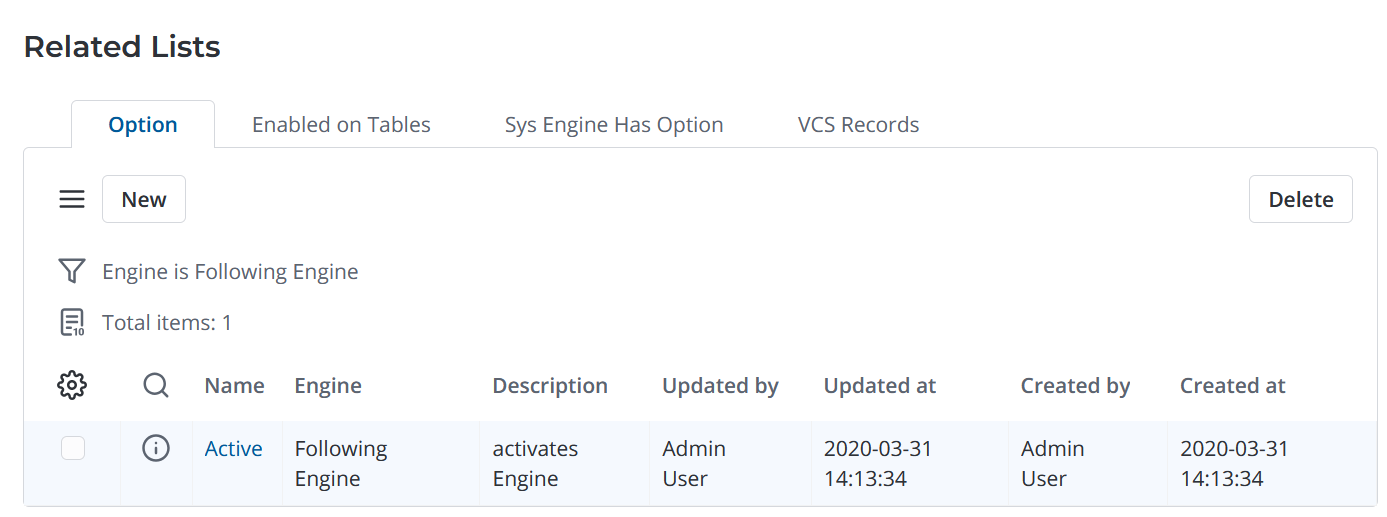
Once an engine is created, add a related option to it or specify the tables in the Related Lists area for which this engine should be enabled.
Create an option
Specify options for the engines created. To create a new engine option, complete the steps below:
- Navigate to Engine Management → Options.
- Click New and fill in the Name, Engine and Description fields.
- Click Save or Save and exit to apply the changes.
You can also create an option record by clicking the New button in the relevant related list of the Engines form.
Option Values
Define values for the engine options created in the system. To create a new engine option value, complete the steps below:
- Navigate to Engine Management → Option Values.
- Click New and fill in the Option and Value fields.
- Click Save or Save and exit to apply the changes.
Option Values for Tables
To specify option values for the specified tables, complete the steps below:
- Navigate to Engine Management → Option Values.
- Click New and fill in the Table and Option fields.
- Click Save or Save and exit to apply the changes.
To define an option value for a specified table, you can also use the alternate way:
- Navigate to the option value you need to assign a table to.
- In the Related Lists area, select the Option Values for Table.
- Click New to create a new value.
- Select the relevant table in the Table field. The Option value field is already populated.
- Click Save or Save and exit to apply the changes.
You can also specify this information by clicking the New button in relevant related list of the Engines form.