Portal Pages
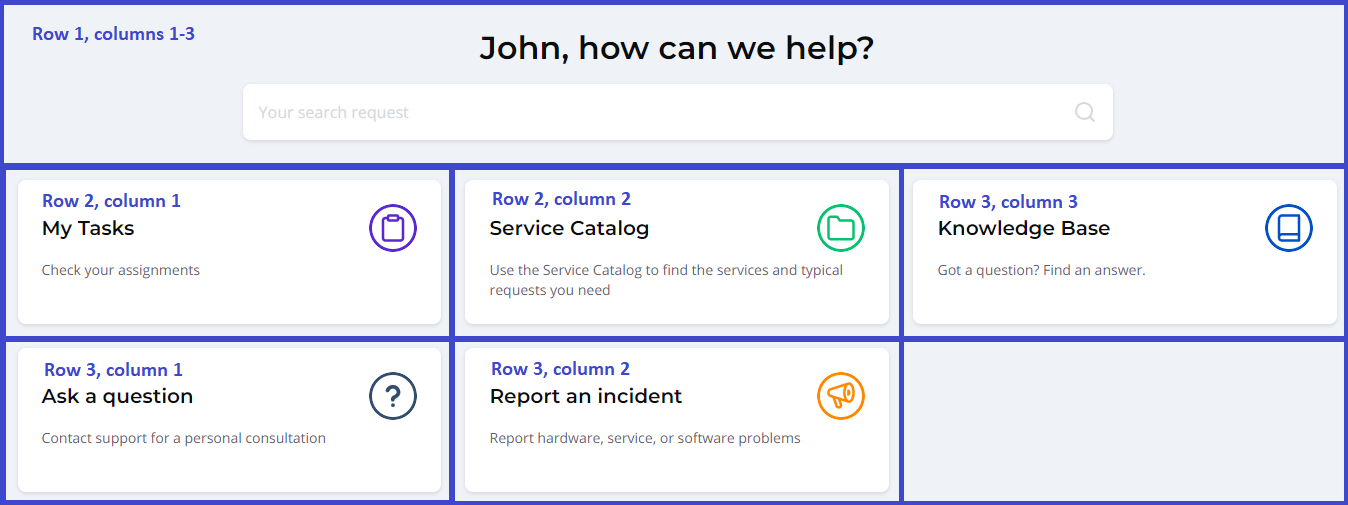
Service Portal pages are the entities used to structure the content. A page consists of containers and rows, which, in turn, consist of columns. Manage page layouts to reach the best user experience. For more information about portal structure, refer to the Page Structure and Portal Integration articles.
You should first consider the structure of the portal before configuring it, because an incorrectly configured portal may function incorrectly. So it is recommended to work out the portal structure in advance.
Portal pages are divided into containers that implement the page layout. Containers are divided into rows. Usually the container contains one row, but you can add more multiple rows. Rows are divided into columns.

You can reuse portal pages provided by the vendor, as templates. This workaround speeds up the page development process because you do not need to create it from scratch.
To create a page from scratch, navigate to Portal Structure → Pages and fill in the form as described in the Page Structure article.
Customize a portal header menu
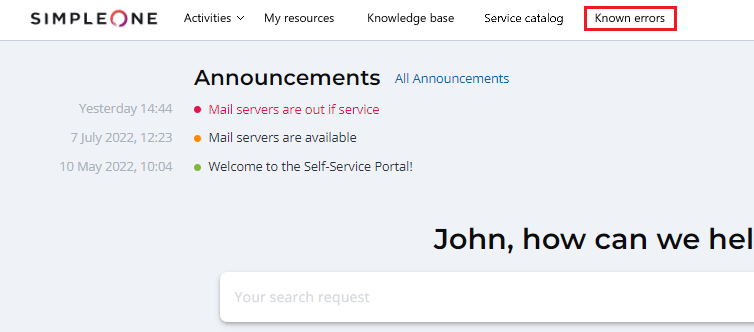
The portal header contains a menu structure consisting of menu categories and items used for quick access to necessary business functionality (for example, Service Catalog). The portal header implements Tree Structures functionality, so it can be easily reconfigured.
In the cases below, you need to configure the portal structure. You can use the vendor-provided portal pages and related items as a sample. Copy them and build your own portal based on these pages.
To customize the portal header, complete the steps below:
- Navigate to Portal Structure → Portals.
- Open the record of your portal.
- Click the record in the Header navigation menu field and open it.
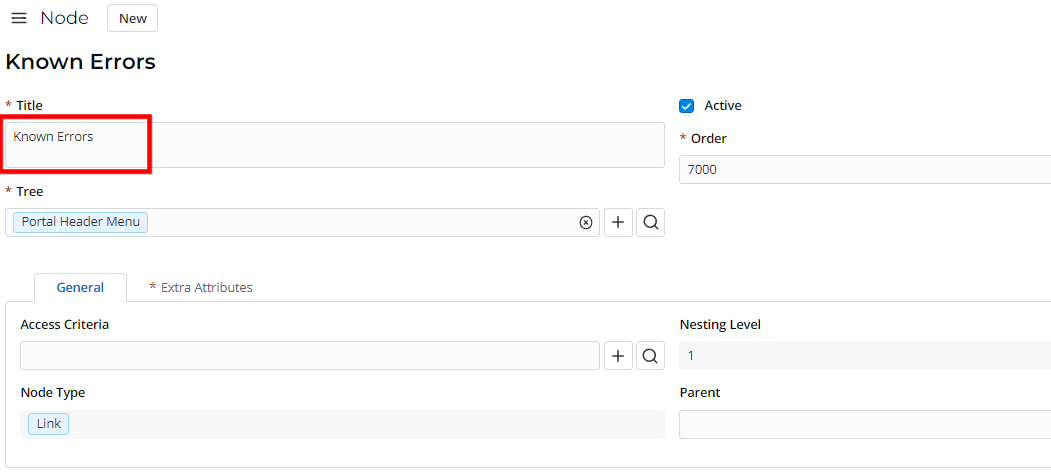
- Create necessary records in the Portal Nodes related list. You need to specify only the title, order, and (optionally) parent item for your new item.
- To delete redundant records, select them and click Delete on the related list form.
- To move an item within the header, set the relevant Order value. Items are sorted in ascending order.
The following example shows a simple example of a catalog item creation.


Add a portal header and footer
The header main menu helps to implement the control over the portal, and it is one of the navigation elements for users. The information in footers may include page numbers, creation dates, copyrights, or references that appear on a single page, or on all pages.
To configure a portal header menu, complete the steps below:
- Navigate to Portal Structure → Container.
- Create a container for a header or a footer.
- Create a row-and-column structure within this container and fill it in with necessary content (widgets, texts, images).
- To define the container as a header or a footer, specify it in the Footer container or Header container field of the related portal record.
A homepage and a default 404 error page
A page can be opened by default, as a homepage, when a portal is referenced by its URL accompanied by the portal suffix (for example, https://instance.example.com/portal). This page, generally, contains major information for a wide range of users.
The 404 error page opens when some broken link has been opened during the navigation.
Create a page first before completing these steps. Also, you can reuse the pages delivered by the vendor.
To set a page as a home page for a portal, complete the steps below:
- Navigate to Portal Structure → Pages.
- In the list that appears, find the record for the page you need to configure, and open it.
- Select the Use for home page checkbox.
- Click Save or Save and exit to apply the changes.
- Navigate to Portal Structure → Portals.
- In the list that appears, find a portal record to which you need to add a homepage and open it.
- Add the preliminary configured page in the Home page field.
- Click Save or Save and exit to apply the changes.
To set a page as a default 404 error page, complete the steps below:
- Navigate to Portal Structure → Portals.
- In the list that appears, find the portal record to which you need to add a homepage and open it.
- Add the preliminary configured page in the 404 page field.
- Click Save or Save and exit to apply the changes.