Active Approvals widget
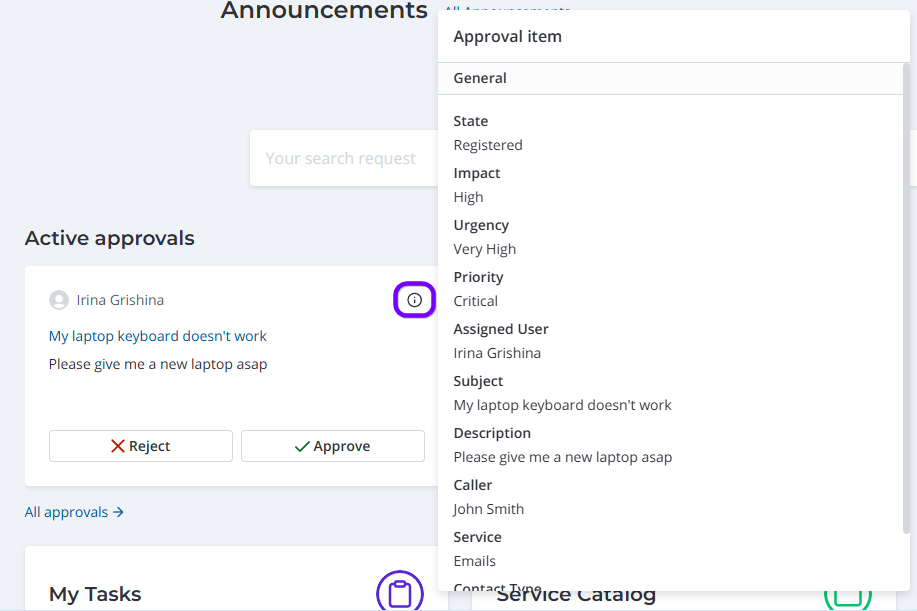
For quick approval of various tasks, you can place the Active approvals widget on the main page of the portal. This widget displays approval requests assigned to the current user in the form of cards with Approve and Reject buttons.

The widget is displayed when there are requested approval tickets for the current user.
The widget is a carousel of cards, each of which contains the following information: the Subject and Description of the task to be approved, the name of the user who created it, and the Approve and Reject buttons.
If a card is rejected, the user must enter a Reason in the modal window that opens.
If there are more than three approval cards, use the and buttons to the right above the carousel to view all cards.
To open a list of all approvals on the My Approvals page, click All approvals on the left below the carousel.
Displaying active approvals on the portal
The "out of the box" Simple Application has no Active approvals widget on the main page of the portal.
To place it on the main page, do the following:
- Navigate to Portal Structure → Portals and open the record of the main page.
- On the form that opens, click the reference link in the Home page field, to navigate to the record of the page.
- In the Page Container related list of the Page form navigate to the container of this page.
- In the Page Rows related list of the Page Container form, click New to create a new row on the page where the widget must be located.
- In the form that opens, enter the order of the row in the Order field, and ensure that the Active checkbox is selected. Save the record.
- In the Page Columns related list of the Page Row created, click New, to create a column in the previously created row.
- On the form that opens, specify the column order on the page in the Order field, and ensure that the Active checkbox is selected. Save the record.
- In the Widget Instances related list of the created column, click New to add the widget into the column on the portal page.
- In the window that opens, specify the Active approvals in the Widget field, and ensure that the Active and Public checkboxes are selected. Save the record.
If everything is done correctly, the widget will be displayed on the portal for users who have assigned approval tasks.
For more information about creating and customizing pages, see the Page Structure article.